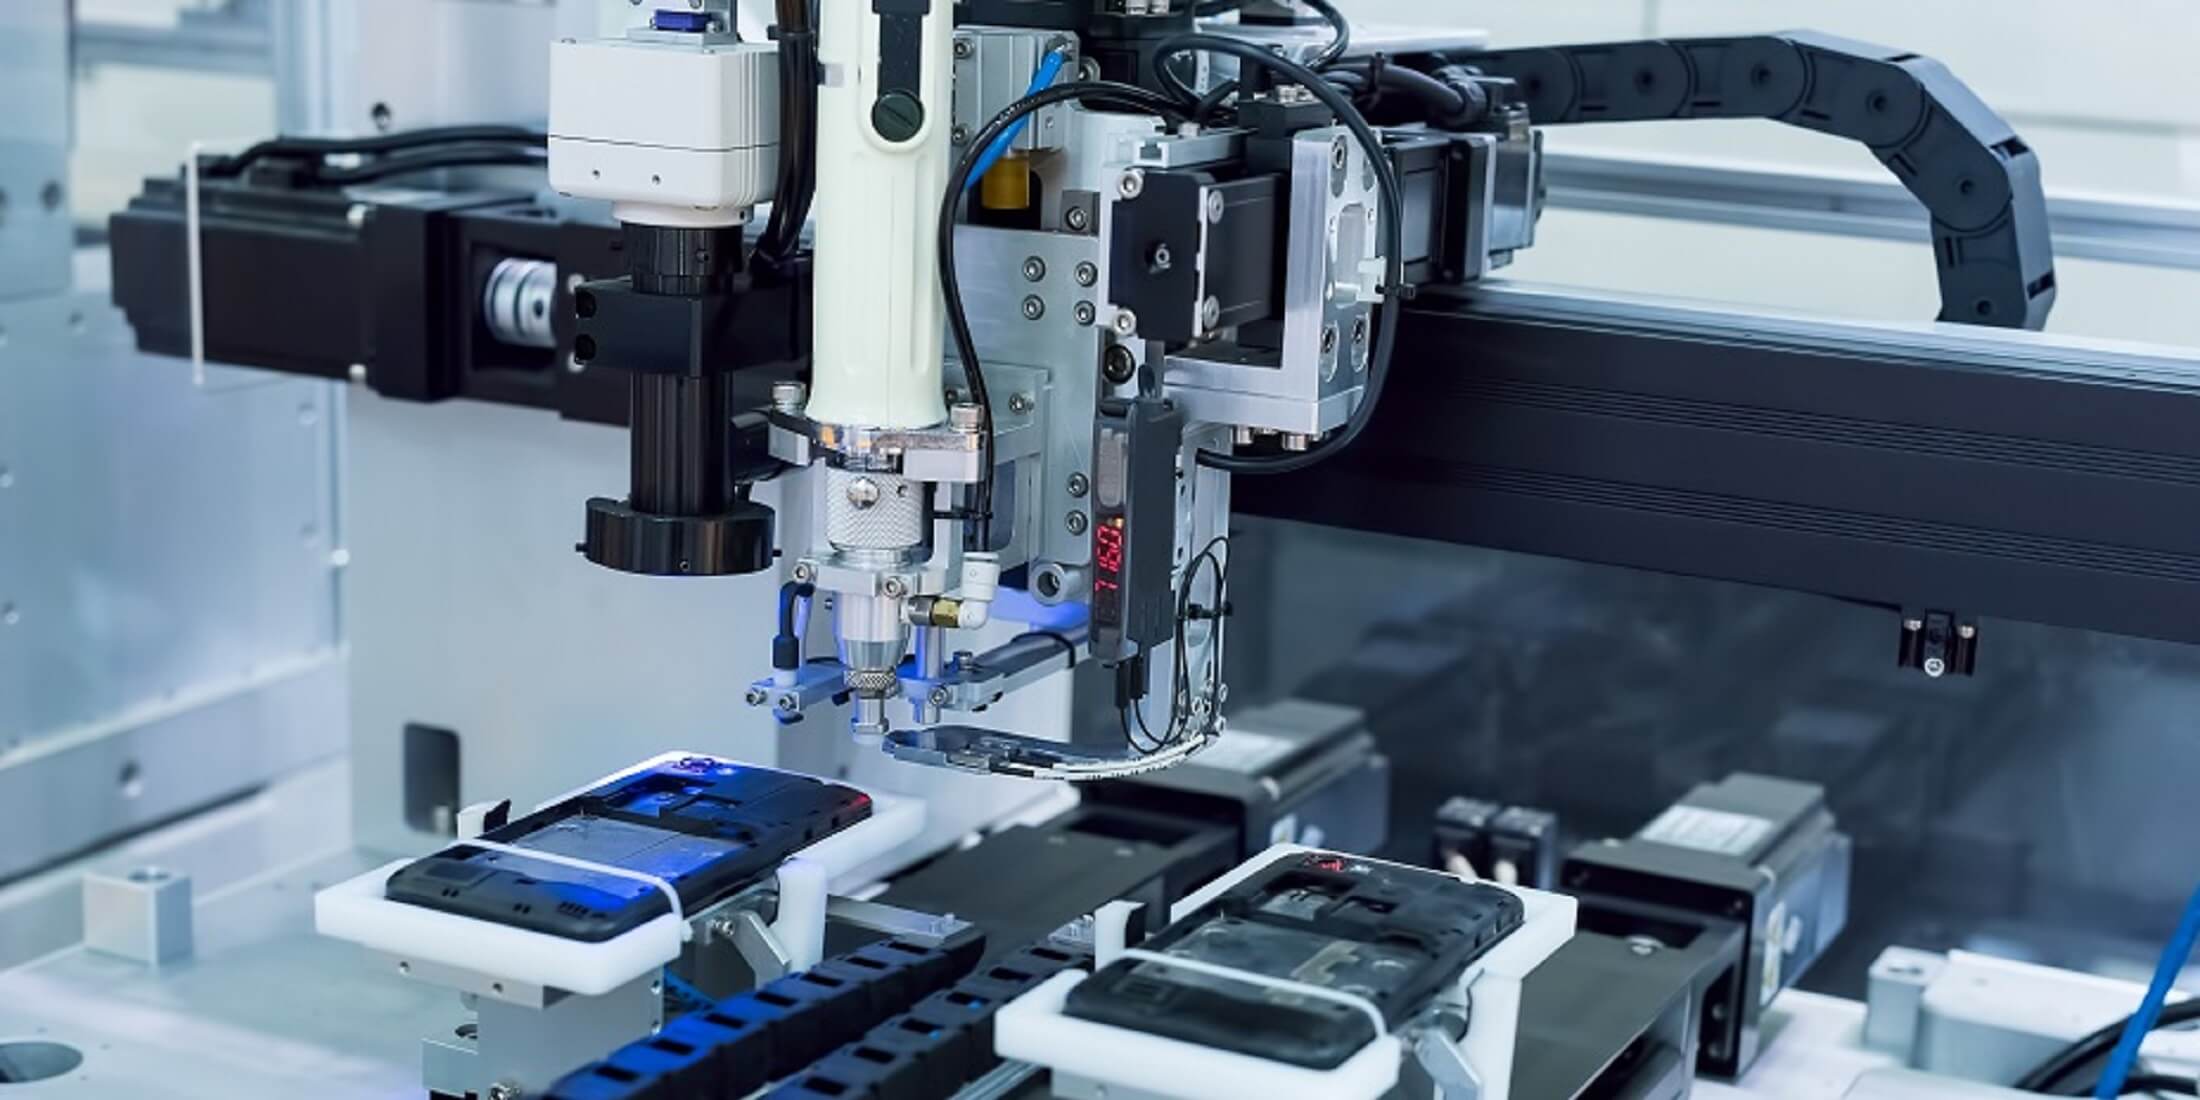
Participants will acquire a mix of conceptual background, do's and don't s and practical insights via lectures, video's and live demonstrations of sensors and measurement equipment in combination with individual and group assignments.
This course focuses on the various aspects related to metrology and calibration of precision modules/systems. Participants will acquire theoretical background and practical insights incl. do’s & don’ts – both on system design level as on detailed engineering level – related to metrology and calibration that are essential to successfully develop and build precision modules/systems.
This training is available for open enrollment as well as for in-company sessions.
Objective
After completion of the course, the participants understand the basic aspects, risks and concepts related to metrology and calibration and are able to judge solutions and implications on system level.
Target audience
This course is intended for mechatronics designers, system engineers and architects who are involved in the multi-disciplinary development of accurate motion modules/systems in which metrology and calibration play an important role in the overall system accuracy.
Prerequisites: Technical education (BSc or higher), with at least two years of experience and preferably completion of the course "Mechatronics system design" (Metron1&2) or the former Philips-CTT course Metron.
The course attracts participants from both the Netherlands and abroad, creating an international atmosphere that fosters valuable knowledge exchange. If you're traveling from outside the country, you can find useful travel information here.
Program
Day 1
Introduction: Metrology definitions
- SI system and traceability
- Definitions (repeatability, reproducibility, uncertainty etc.)
- Components of a measurement system
Short range sensors
- Sensor terminology (range, resolution, sensitivity etc.)
- Sensor types (capacitive, inductive, optical etc.)
Long range sensors
- Displacement interferometry (principle, components, error sources etc.)
- Encoders (theory, various types)
Day 2
Case introduction
- Measurement machine for freeform optics
- Case will be used and developed throughout course
- Analysis of existing solutions
- Performance estimation (uncertainty calculation)
Mechatronic context
- Control theory summary
- Influence of sensor properties
- Influence of sensor placement
- Applying corrections
Metrology on system level
- Design principles for low uncertainty
- Error types
- Rules of Abbe and Bryan
- System loops
- Quantity of concern
- Error budgeting basics
Day 3
System calibration
- Calibration terminology
- Calibration instruments & artefacts
- Self-calibration and reversal techniques
- Application examples
- Use of calibration data
Machine Vision: Case SMT system
- Vision metrology
- Calibration of series products
- Data logistics for field replacement units
Methods
Certification
This course is certified by the European society for precision engineering & nanotechnology (euspen) and the Dutch Society for Precision Engineering (DSPE) and leads to the ECP2-certificate.


Course Reviews


